





















Lower Energy Bills with DIY Pre-Winter Home Sealing
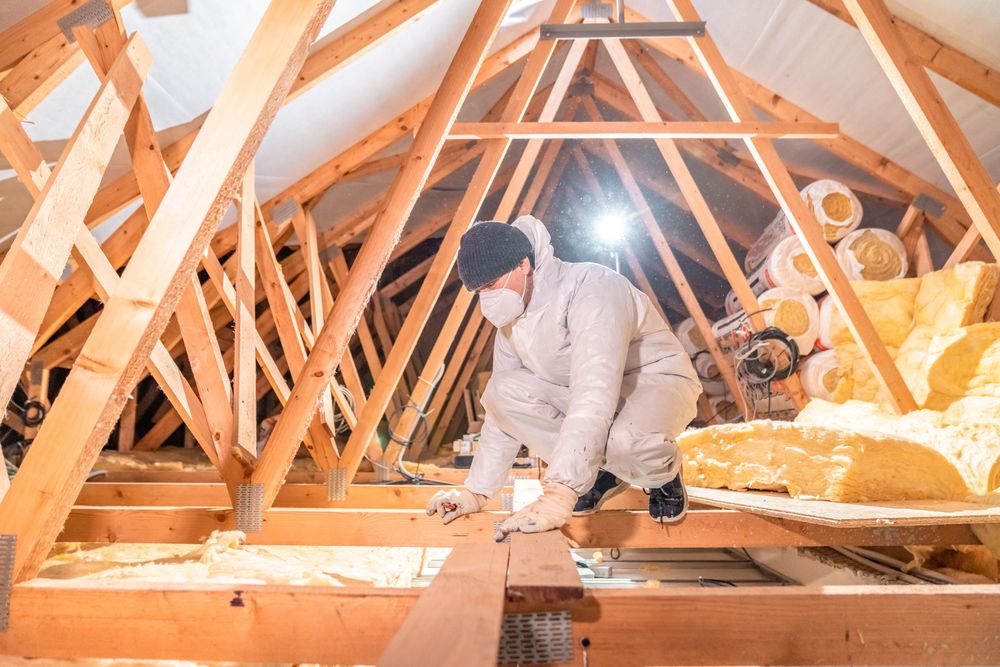
If your home feels drafty in the winter or your heating bills seem higher than they should be, hidden air leaks could be the problem. Two of the biggest trouble spots are often the attic and the basement rim joists, which are the areas where your home's framing meets the foundation.
Late summer and early fall are ideal times to tackle an air sealing project before colder temperatures arrive. Sealing these gaps helps keep warm air inside, improves comfort throughout the home, and allows your insulation to perform more effectively.
Why Air Sealing Matters
Many homeowners assume adding more insulation is the best way to improve energy efficiency. While insulation is important, it won't stop air from moving through cracks and gaps. By sealing these openings, you create a tighter building envelope that keeps heated and cooled air where it belongs.
Think of your home like a bucket. If the bucket has holes, adding more water won't solve the problem. You need to plug the holes first.
Common places where air escapes include:
- Gaps around electrical wiring in the attic
- Plumbing penetrations
- Openings around recessed lights
- Spaces around chimneys and vent pipes
- Basement rim joists
- Areas where framing meets the foundation
Signs Your Home May Have Air Leaks
Not sure if air sealing is worthwhile? If you notice any of these issues, air leaks could be contributing to the problem.
Look for these common warning signs:
- Drafts near walls, outlets, or baseboards
- Uneven temperatures between rooms
- High heating or cooling bills
- Cold floors during winter
- Ice dams forming on the roof
- Dust entering the home more quickly than expected
Materials You'll Need
Most attic and rim joist air sealing projects can be completed with a few basic materials:
- Spray foam insulation for gaps and cracks
- A reusable foam dispensing gun for larger projects
- Caulk for small gaps
- Rigid foam board for basement rim joists
- Rafter baffles for attic ventilation
- Safety glasses and gloves
- Dust mask or respirator
An R.P. Lumber associate can help you determine exactly how much material you'll need based on the size of your home.
Part 1: Air Sealing the Attic
The attic is often the largest source of energy loss in a home because warm air naturally rises and escapes through openings in the ceiling.
Step 1: Locate Air Leaks
These are some of the most common areas where conditioned air escapes. Move insulation aside carefully and look for:
- Holes around electrical wires
- Plumbing pipes extending into the attic
- Gaps around exhaust fans
- Openings near light fixtures
- Spaces between drywall and framing
Step 2: Seal Small Openings
Use spray foam or caulk to fill gaps around electrical wires, plumbing penetrations, and/or small cracks in framing. Allow the foam to expand and cure according to the manufacturer's instructions.
Step 3: Seal Larger Openings
For bigger gaps around plumbing chases or other large openings, cover the area with a piece of plywood, OSB, or drywall and seal around the edges with spray foam.
Step 4: Maintain Attic Ventilation
Attics still need proper airflow to prevent moisture buildup. Install rafter baffles along soffit areas to keep insulation from blocking airflow. This helps maintain ventilation while preventing drafts from entering beneath the insulation.
Part 2: Air Sealing Basement Rim Joists
The rim joist is the area where the floor framing sits on top of the foundation wall. It's one of the most common sources of drafts in older homes.
Step 1: Clean the Area
Before sealing, remove dust, cobwebs, and debris from the rim joist areas. A clean surface helps spray foam and adhesive products bond properly.
Step 2: Cut Foam Board to Size
Measure each cavity between floor joists and cut rigid foam insulation slightly smaller than the opening. This allows room for spray foam around the edges.
Step 3: Install and Seal
Place the rigid foam board into the opening and use spray foam around the perimeter to create an airtight seal. This combination provides both insulation and air sealing.
Step 4: Add Additional Insulation
For additional energy savings, place mineral wool insulation in front of the foam board after the spray foam has cured. This can help improve comfort and reduce drafts even further.
A Quick Example
Consider a homeowner who noticed cold floors and high heating bills every winter. After sealing attic penetrations and insulating the rim joists, they reported fewer drafts, more consistent room temperatures, and lower heating costs during the following winter season. While every home is different, air sealing is often one of the most cost-effective energy-efficiency upgrades homeowners can make.
Final Inspection Checklist
Before finishing the project, make sure:
- All visible gaps and cracks have been sealed.
- Attic ventilation remains open and unobstructed.
- Insulation is returned to its proper location.
- No daylight is visible through attic or basement openings.
- Spray foam has fully cured before covering it with insulation.
If you want to verify your results, consider scheduling a professional energy audit or blower door test to identify any remaining air leaks.
Get Ready for Winter with R.P. Lumber
Completing an attic and basement air sealing project before cold weather arrives can help improve comfort, reduce drafts, and lower energy costs throughout the winter.
Visit your local R.P. Lumber store for spray foam, rigid foam insulation, mineral wool batts, attic ventilation products, and the tools needed to tackle the job. Our team can help you select the right materials and estimate quantities so you can complete the project with confidence before the first frost arrives.