


















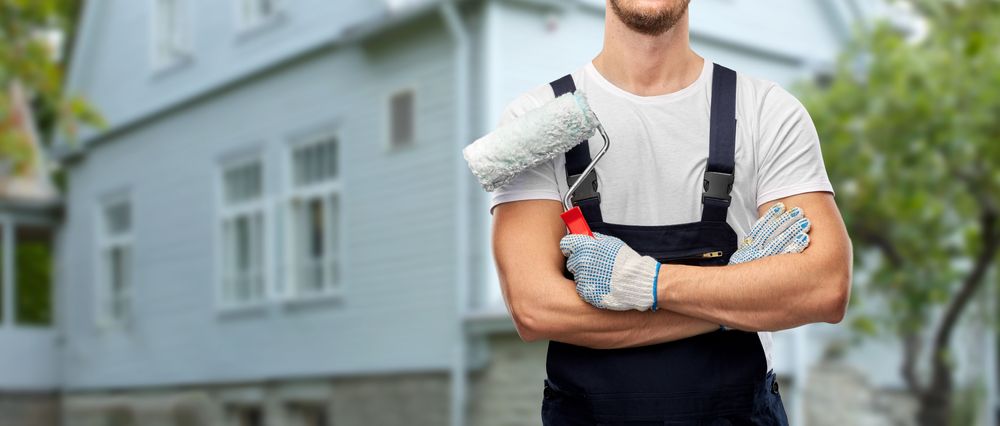
The appeal of tackling an exterior paint job during summer is clear: longer daylight hours and generally stable weather. However, the very conditions that seem ideal—heat and humidity—can quickly sabotage your efforts, leading to premature peeling, blistering, or a sub-par finish if not managed correctly. Achieving a robust, long-lasting exterior house painting summer project requires more than just picking a color; it demands a technical understanding of how environmental factors interact with materials.
Let's dive into the specifics that ensure your hard work results in a finish that truly endures.
Surface Preparation: The Unsung Hero of Adhesion
A durable paint finish is built from the ground up, and that means meticulous surface preparation. Skipping steps here guarantees failure, especially when paint adhesion is challenged by summer's fluctuating temperatures.
Cleaning Beyond the Basics
Before any primer or paint touches the surface, a thorough cleaning is non-negotiable. Don't just rinse; address contaminants.
- Mildew and Algae: These growths must be completely eradicated, not just bleached. Use a specialized mildewcide cleaner available at your local R.P. Lumber or a solution of trisodium phosphate (TSP) substitute. Apply, scrub with a stiff brush, and rinse thoroughly.
- Dirt and Chalking: For general grime and light chalking (a powdery residue from old, degraded paint), power washing is efficient. For wood siding, keep pressure between 1500-2000 PSI using a 25-degree fan tip to prevent damage. For concrete or masonry, you can safely use up to 2500-3000 PSI. Always maintain a safe distance and even passes. Allow the surface to dry completely for at least 2-3 consecutive dry days before proceeding to ensure all moisture has dissipated.
Addressing Imperfections and Substrate Readiness
Once clean, inspect for damage and prepare the substrate.
- Scraping and Sanding: Remove all loose, flaking, or peeling paint. Feather the edges of existing paint with 80-120 grit sandpaper to create a smooth transition, preventing visible lines under the new coat.
- Caulking: Critical for sealing out moisture. Use a high-quality, flexible exterior caulk like 100% acrylic latex with silicone or a polyurethane caulk for areas experiencing significant movement (e.g., around windows, doors, or where siding meets trim). Apply a consistent 1/4 to 3/8 inch bead and smooth it. Allow adequate cure time as per manufacturer instructions, typically 24-72 hours, especially in high humidity.
- Priming: Not always optional.
- Stain Blocking: For bare wood, particularly cedar or redwood, an alkyd (oil-based) stain-blocking primer is essential to prevent tannins from bleeding through and discoloring your topcoat.
- Adhesion/Chalky Surfaces: For previously painted surfaces with light chalking, or when switching from an oil-based to a latex topcoat, a high-quality acrylic latex bonding primer will promote better adhesion.
- Repairs: Always prime patched areas (e.g., wood filler, spackle) to ensure uniform porosity and appearance of the final paint. Pay attention to the primer's "flash time" and "recoat window" to ensure proper curing before applying topcoats.
Strategic Application: Beating the Summer Heat
Summer brings specific challenges that impact paint application and drying. Ignoring these leads to premature failure.
Temperature and Humidity Windows
Paint chemistry is highly sensitive to environmental conditions.
- Temperature: Most exterior acrylic latex paints perform best when ambient air and surface temperatures are between 50°F and 85°F. Avoid painting if temperatures are expected to drop below 35°F within 24 hours of application, as this can hinder proper film formation and curing.
- Humidity: Ideal humidity levels are 40-70%. High humidity extends drying times, increasing the risk of wash-off if unexpected rain occurs or leading to blistering as trapped moisture tries to escape. Never paint immediately after heavy rain or morning dew; ensure surfaces are completely dry.
- Sun Exposure: Painting directly on hot, sun-baked surfaces can cause paint to "flash dry" on the surface, preventing proper adhesion and leveling. This can lead to brush marks, lap lines, or premature peeling. Work in shaded areas, or "follow the sun" around your house, painting walls that are currently in shadow.
Choosing the Right Coatings and Tools
Material selection plays a crucial role in longevity.
- Paint Type: For most exterior home applications, 100% acrylic latex paints are the superior choice. They offer excellent flexibility (to handle expansion/contraction), breathability (to allow trapped moisture to escape without blistering), and color retention. Discuss sheen levels with an expert; satin or eggshell is common for siding due to its durability and cleanability, while semi-gloss provides a harder, more resistant finish for trim.
- Tools: Invest in quality. High-quality nylon/polyester brushes are ideal for latex paints, offering better control and a smoother finish. For rollers, select the correct nap length for your surface: 3/8” to 3/4” for most siding textures, shorter for smoother trim.
The Final Touches: Curing and Longevity
Even after the final coat is applied, your job isn't quite done. Understanding the difference between "dry to touch" and "fully cured" is vital for the long-term success of your exterior house painting summer project. While paint may feel dry within hours, it typically takes 2-4 weeks for most exterior paints to achieve full hardness and chemical resistance. During this curing period, avoid leaning ladders against the fresh paint, pressure washing, or subjecting the surface to heavy impact. Patience ensures maximum durability.
For personalized advice on specialized primers, high-performance exterior paints, or the proper caulking solutions for your specific project, stop by any R.P. Lumber location. Our team can help you select the exact materials you need to guarantee a finish that stands the test of time.